


Education
Home Composting Basics
Home composting is a great way to reduce your food waste but sometimes it's hard to know where to begin. Julia from @simply.living.well has some basics that she's shared with us to get you started. Happy composting!
Written by @simply.living.well

At home, there’s no better way to combat food waste than composting. It takes some effort, but nature does all the hard work for you. After all, in nature, nothing gets wasted. A leaf falls from a tree and immediately begins the process of decomposing until it turns into the very soil that feeds the tree from which it fell.
It’s a natural cycle, and we can emulate it in our own lives by composting food scraps, biodegradable materials, and yard waste. The good news: not only does composting keep food out of landfills, it also keeps methane out of the atmosphere. A win-win all around! Below, are nine tips for setting up a successful backyard composting system, along with a list of materials that can and can’t be composted at home.
1. Choose a compost bin or create a pile.
A compost bin or an open pile will work. Bins have the advantage of keeping things neat and contained, while keeping out rodents and other critters. You can use a compost bin or make one yourself.
2. Choose a location for your compost.
The best locations are flat, well-drained, and easily accessible. In cool latitudes, place compost in a sunny spot with shelter to protect it from freezing cold winds. In warm, dry latitudes, place the bin or pile in a shadier spot to keep it from drying out too much.
3. Understand the concept of browns and greens.
There are two main ingredients in any compost pile: carbon-rich ingredients and nitrogen-rich ingredients. The carbon group, or “browns”, include materials like leaves, hay, paper, cardboard, sawdust, nut shells, and wood chips. The nitrogen group, or “greens”, include fruit and vegetable scraps, fresh grass clippings, coffee grounds, fresh herbs, egg shells. The art of composting rests on balancing these groups.
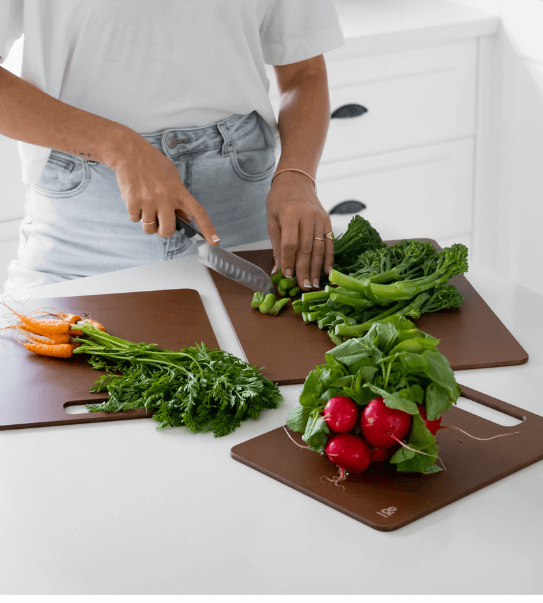
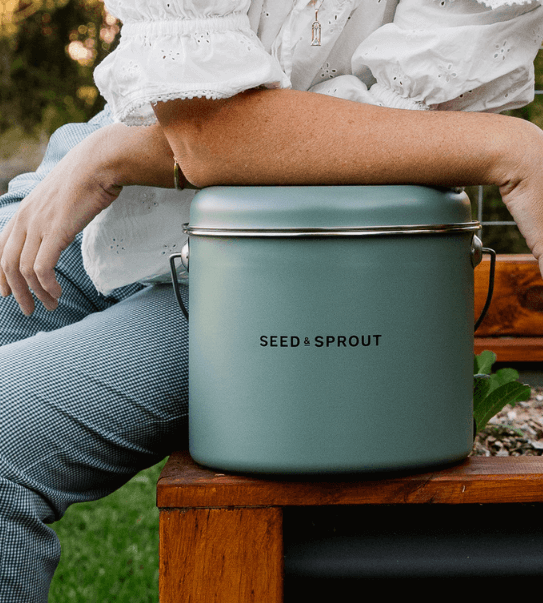
4. Create a system for collecting kitchen scraps.
Have a system for collecting kitchen scraps, whether it be a compost bucket, an old pot with a lid, or a large bowl you keep in the freezer to keep foods from rotting and smelling in the house. See below for a list of foods and materials that can and cannot be composted.

5. Collect and store brown (carbon-rich) materials.
Create a system for collecting and storing brown materials to keep them dry, for example in a brown paper yard bag in a shed or garage or in an aluminum bin with a lid near the compost pile.
6. Alternate layers and strike a healthy carbon to nitrogen ratio.
Create layers in your compost pile, starting with a 4-inch layer of twigs, hay, or straw, to allow for good air circulation, followed by a layer of dried leaves, and a layer of finished compost. Then alternate between layers of green (nitrogen-rich) materials and brown (carbon-rich) material. Striking a healthy carbon to nitrogen ratio will speed up the process of decomposition. A good rule of thumb is to add 4 times as much carbon-rich ingredients as nitrogen-rich ingredients (in volume, not weight).

7. Maintain compost pile or bin. While you could leave your compost to decompose on its own, a little maintenance goes a long way to speed up the process. For example, when you add fresh materials, be sure to mix them with the layers below it. Also, keep compost the consistency of a rung-out sponge – moist but not too soggy. If it’s too wet, add brown materials; if it’s too dry, add wet materials and/or water. Finally, mix or turn the compost once a week to introduce oxygen and eliminate odour.
8. Speed up the process with microbial-rich materials. If you’re eager to speed up the process, you can try adding materials that are rich in microbes, bacteria, fungi, soil insects, mites, and worms. The easiest ways to add these materials is via mushroom manure, well-rotted manure (not pet waste), healthy garden soil, or compost accelerator.
9. Use finished compost. It can take anywhere from 2 weeks to 12 months to produce compost. In general, you’ll know it’s ready when its dark and crumbly, with a pleasant, earthy smell. At that point, you can use it as a topsoil for houseplants, soil amendment for garden veggies and flowers, mulch around trees and shrubs, lawn-top dressing, and compost tea.

Materials that can be composted:
Fruits and vegetables
Eggshells
Coffee grounds and filters
Tea bags
Nut shells
Shredded newspaper
Cardboard
Paper
Yard trimmings
Grass clippings
Houseplants
Hay and straw
Leaves
Sawdust
Wood chips
Wooden toothbrush handles
Cotton and wool rags
Dryer and vacuum cleaner lint
Hair and fur
Fireplace ashes
Materials that can't be composted:
Black walnut tree leaves or twigs
Coal or charcoal ash
Dairy products
Eggs
Diseased or insect-ridden plants
Fats, grease, lard, or oils
Meat or fish bones
Animal feces
Cat litter
Sand
Garden trimmings treated with chemicals
Coloured or glossy paper
*Please note: this advice relates to home composting and worm farms, not commercial council collection.