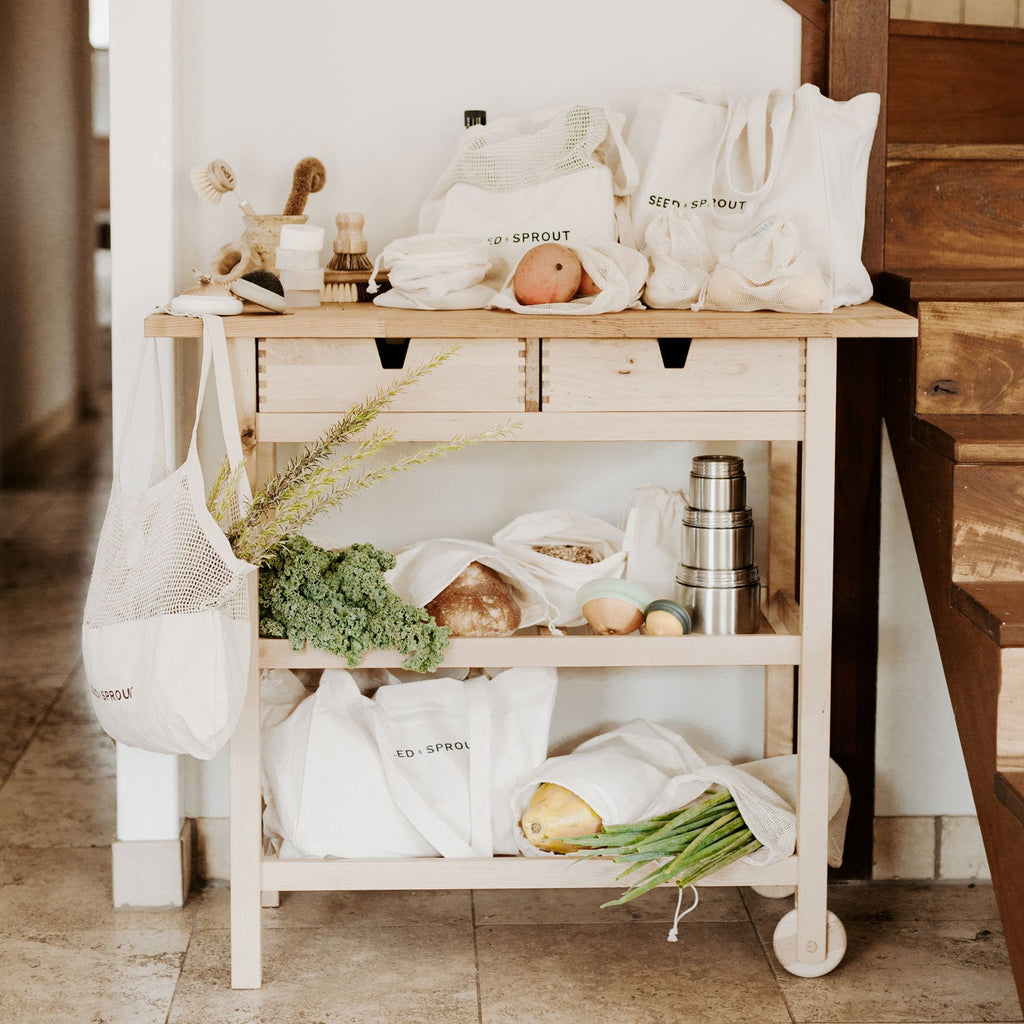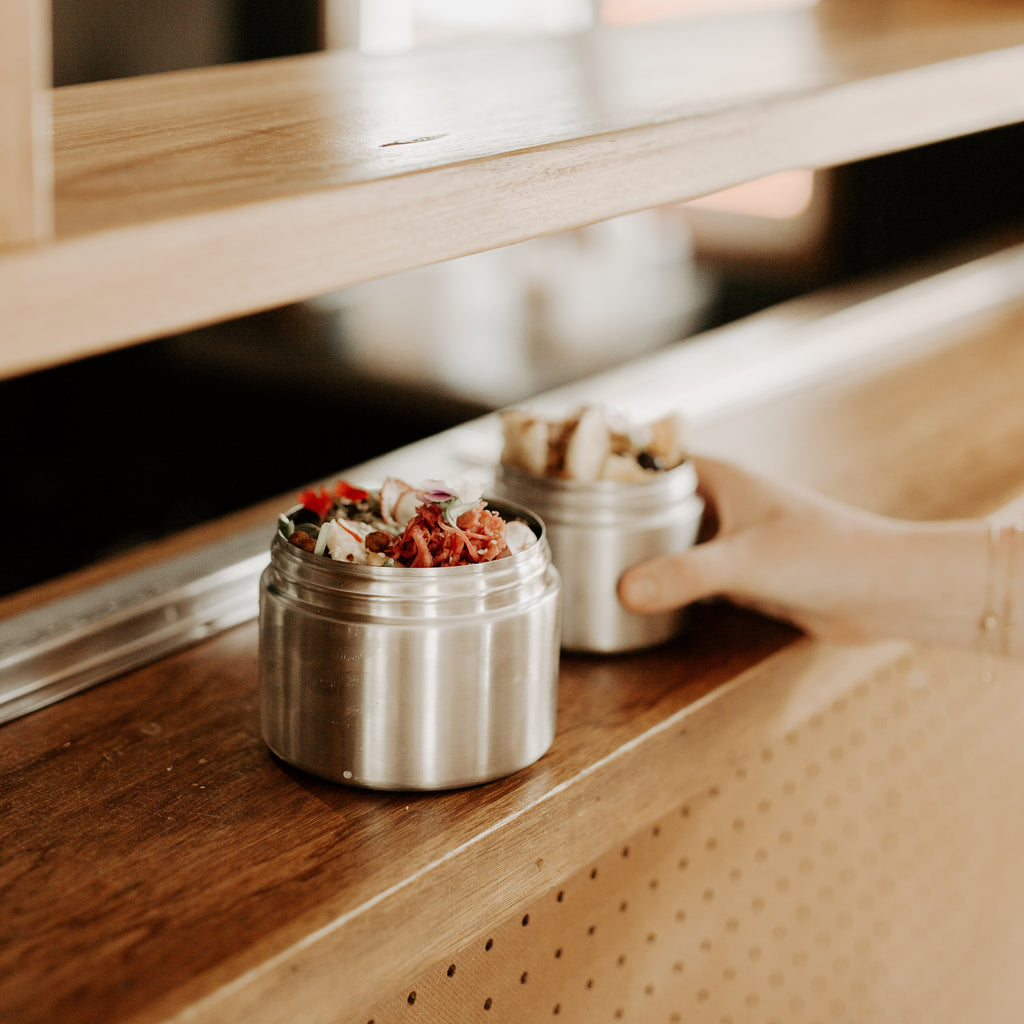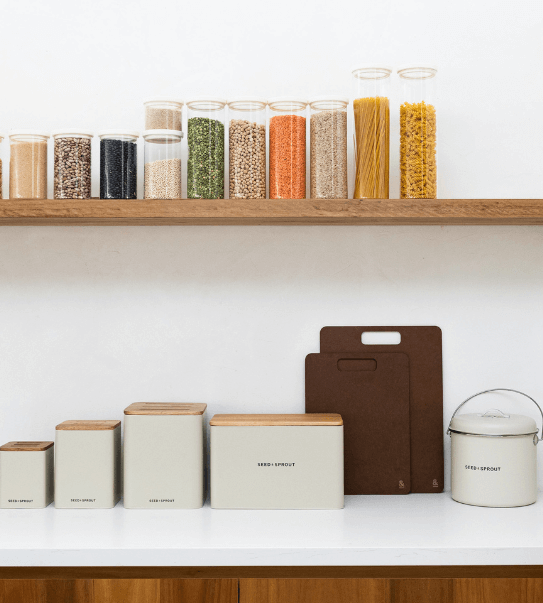


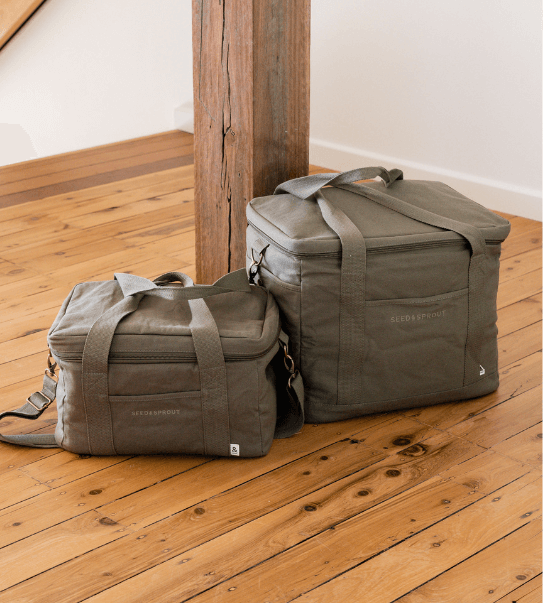


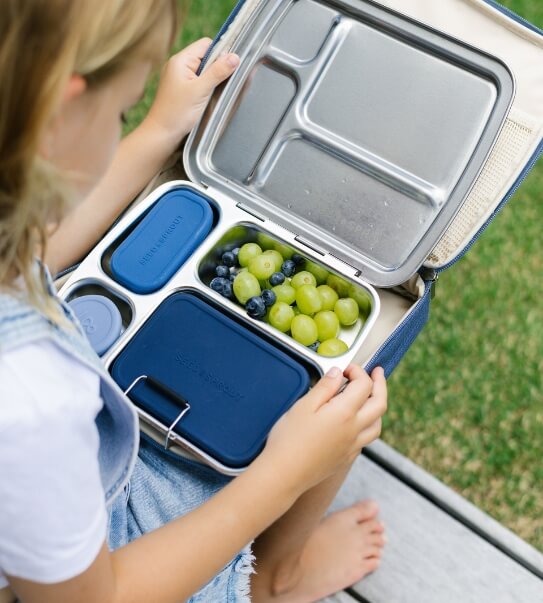
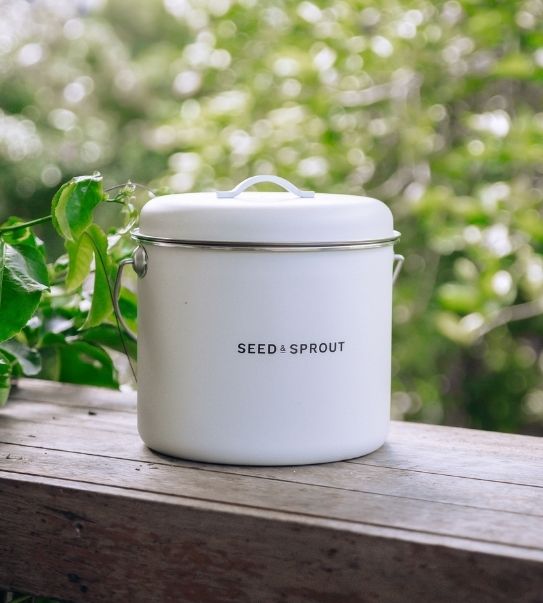
LunchWare
Aquafaba Brownie Bites
Aquafaba is one of our favourite vegan-friendly ingredients. It's so easy to use and best of all - it cuts down on food waste as this liquid goodness usually gets rinsed off tinned chickpeas (more on this below!).
Julia from @simply.living.well, has shared her Aquafaba Brownie Bites recipe with us. It's a great introduction to the ingredient if you're unfamiliar with using it (and it's simply delicious!).
Written by @simply.living.well

Aquafaba may very well be one of the most magical foods people commonly throw away. If you’re wondering what it is – it’s nothing more than the liquid leftover from cooked chickpeas. The starchy liquid serves as a great binder for recipes that call for eggs. Or it can be whipped into stiff peaks and added to baked goods as an egg white substitute. Not surprisingly, it’s a beloved ingredient among vegan bakers and cooks, but anyone can use it – so long as they eat chickpeas and like to keep their hands busy in the kitchen.
In general, there are two ways to obtain aquafaba, either by draining a can of chickpeas or by cooking dried chickpeas from scratch and reserving the leftover liquid. The first way is the easiest, as the liquid is always the right consistency in the can. The second way is a bit tricky because the liquid is sometimes too thin and needs to be cooked down to the right consistency. If you’ve never worked with aquafaba, or even if you have, figuring out when it’s just right can take a fair bit of practice.

To reserve aquafaba the easy way, just shake an unopened can of chickpeas vigorously, then open it and drain the chickpeas through a fine-mesh strainer over a bowl. If you don’t plan to use the liquid right away, you can save it in an airtight glass container for up to a week. Alternatively, you can freeze it in 1-tablespoon portions in ice cube or silicone trays. Once the bean liquid cubes are frozen solid, they can be transferred to freezer bags for future use. When you’re ready to use it, just thaw the cubes in a bowl until they turn to liquid.
When you’re ready to make something with your aquafaba, you’ll find lots of recipes online. Over the past year, I’ve made mayonnaise, creamy salad dressings, muffins, cakes, cookies, and meringues. This particular recipe for brownies is one of my favourites – not only is it super easy to make, but it also freezes well for those of you who can’t eat a dozen brownies in one sitting! All this to say, stop throwing that chickpea liquid in the trash, and get to cooking and baking with it. You won’t regret it!
Ingredients
1 cup almond flour
1/3 cup cocoa powder
1/2 tsp baking powder
1/4 tsp sea salt
1/3 cup maple syrup
1/2 cup dark chocolate chips
1/3 cup aquafaba
1/8 tsp cream of tartar (optional)
3 tbsp coconut oil, melted
1/2 tsp vanilla extract
nut butter

Method:
1. In a large mixing bowl, combine and mix together the almond flour, cocoa powder, baking powder, sea salt, maple syrup, and half of the chocolate chips.
2. Using a stand mixer or hand mixer, whip your aquafaba until light peaks form. If you have trouble getting light peaks to form, you can add the cream of tartar to speed up the process and make the peaks much firmer. (It should take about 3-6 minutes).

3. Add the other half of the chocolate chips to a small pot and melt on the stove over low heat. Stir well and remove from heat as soon as they’re melted.
4. Add the coconut oil and vanilla extract to the aquafaba and beat or whisk to combine.
5. Add the melted chocolate chips to the aquafaba and stir to combine and fold it into the mixture.
6. Add the aquafaba mixture to the dry ingredients and mix well with a whisk of mixer to combine.
7. Cover the bowl with something like a reusable clear food wrap and set in the refrigerator to chill for half an hour.

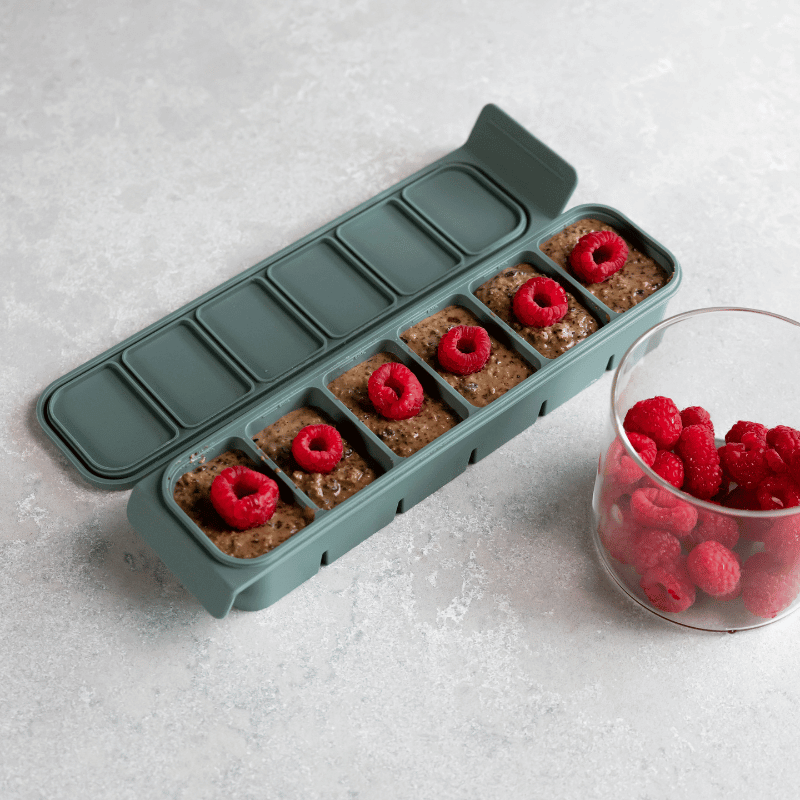
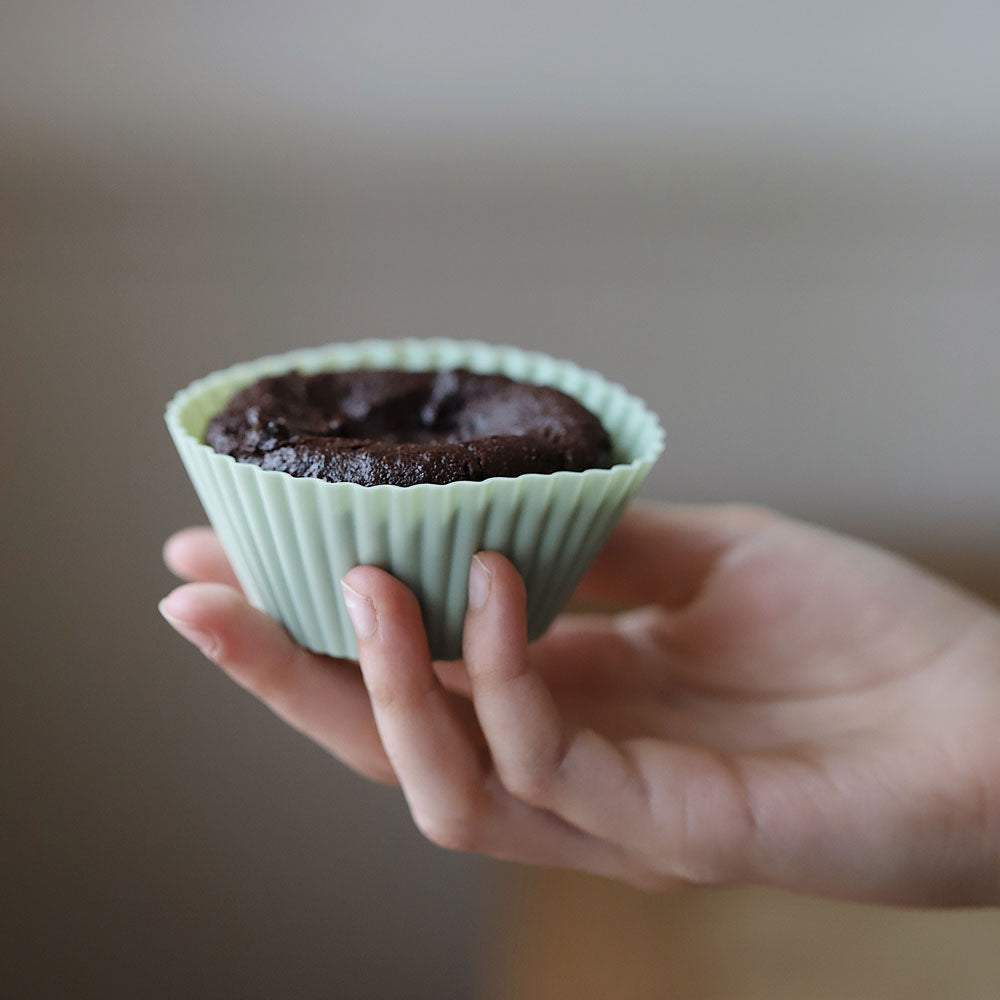
8. Preheat oven to 175 degrees C and line a muffin tin (I use Seed & Sprout's nifty reusable silicone muffin cups). When the dough has chilled, scoop the brownie batter in the muffin cups and bake for 16-20 minutes, until the top is dry. You can check to see if the inside is cooked by sticking a toothpick or fork into the center of the muffin. If there’s no wet dough on the toothpick or fork, the muffins are ready!
9. Set on a wire rack or baking tray to cool. You can store leftovers at room temperature, in the refrigerator, or in the freezer. They’ll keep for up to a month in the freezer.